How to Create Sub-accounts for your Learners on Ji Tap
Download the PDF to print out for your convenience.
The easiest way to create student accounts, or sub-accounts, is for one teacher (or the tech person at your school) to create all the sub-accounts via the “upload full class” option. To access that option, have the teacher that is creating the sub-accounts do the following:
- Login to the Ji Tap site.
- Go to My Dashboard on the header of the site.
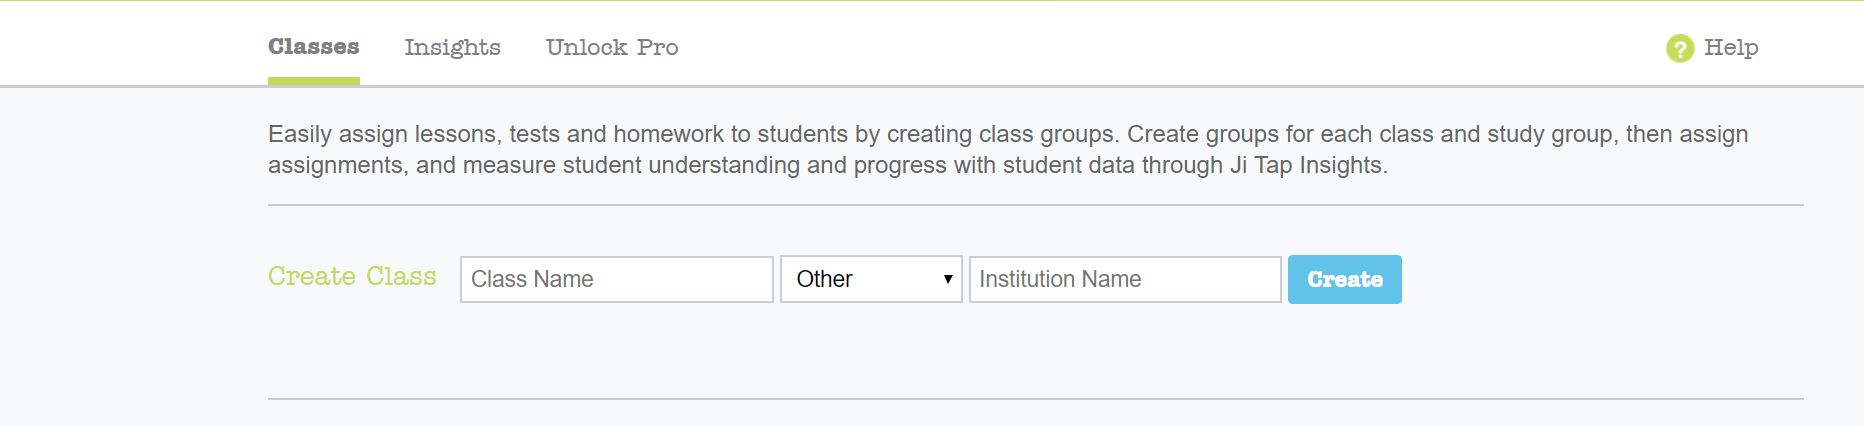
- Click on Classes. You should create one class for all the students in your school who will be using Ji Tap. The class can be called “our student accounts” for example.
Then click on the Create button to create the class.
- Once the class has been created, click on Members within the Class, and then click on Add New Members, and then click on the “Upload Full class” tab:
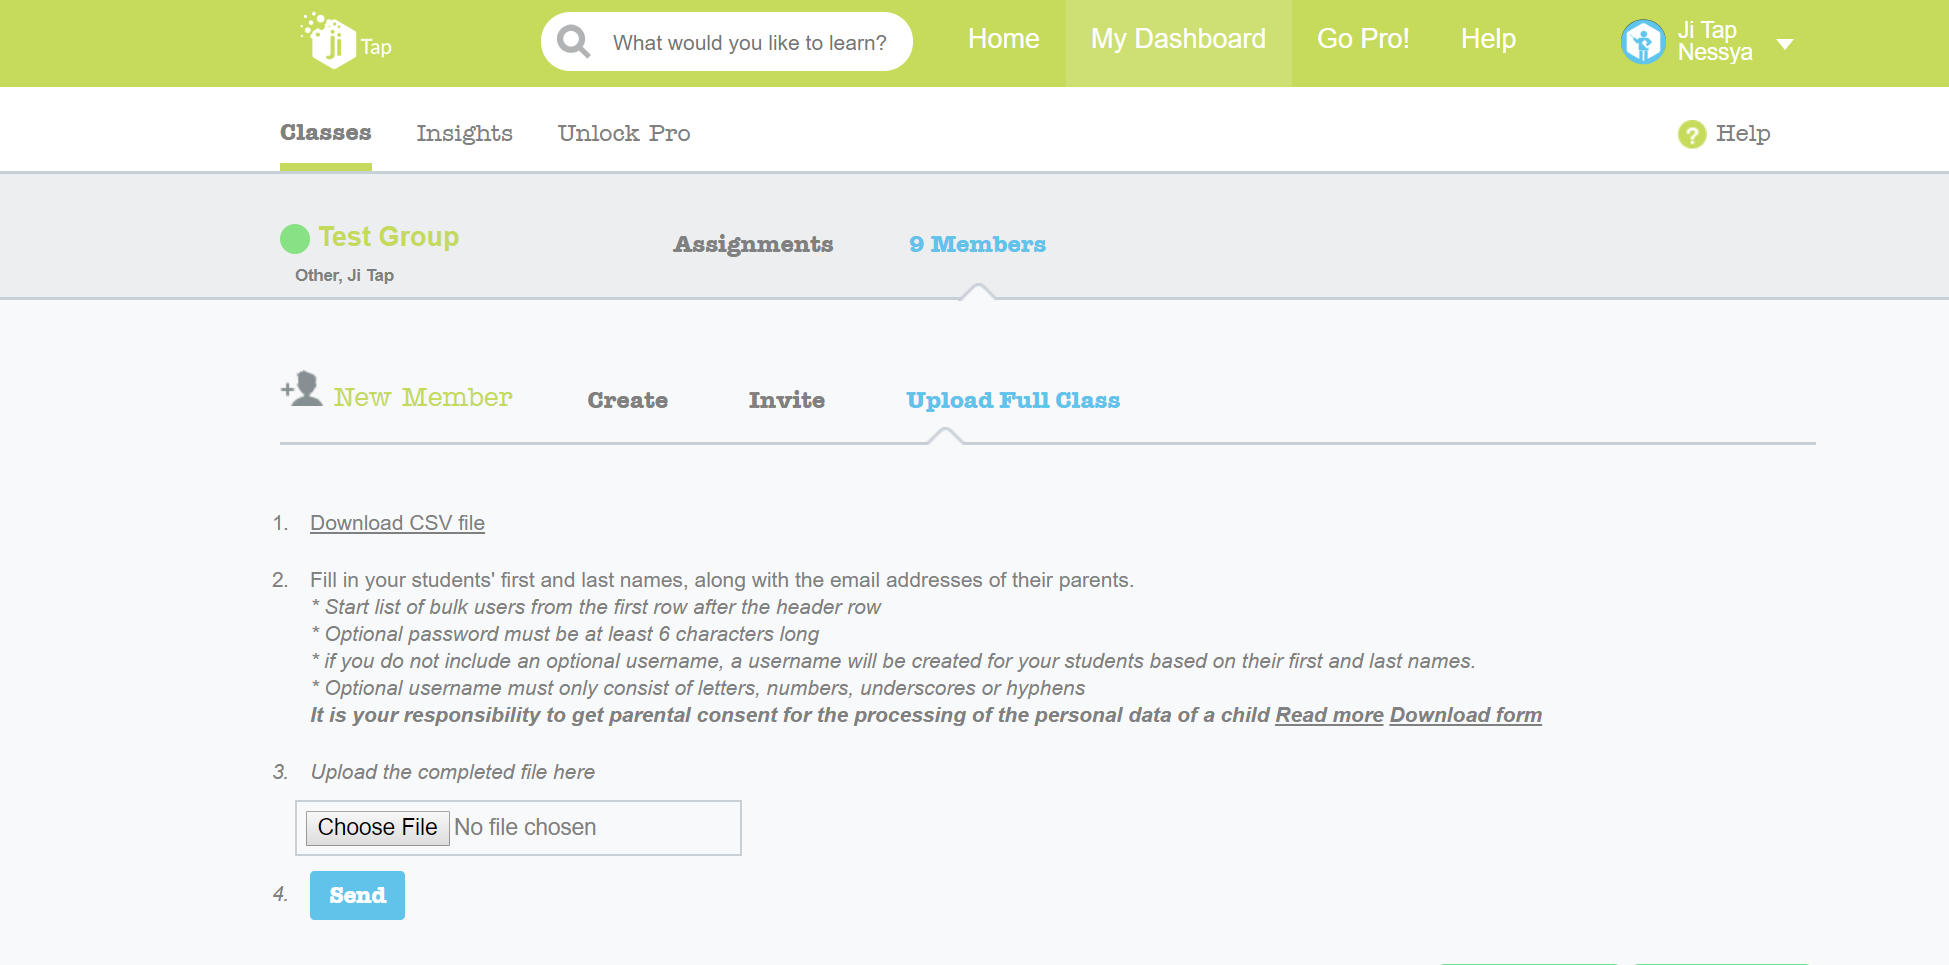
- Follow the steps outlined on that page. We recommend creating usernames for the students that don’t reveal their last names or other personal info for online safety.*Please note that the email addresses put in should be the email addresses of the students’ parents, not the students’ email addresses. If you don’t have the parents’ email addresses, or the parents don’t need to see their children’s progress on Ji Tap, you don’t need to put in their email address.*We recommend that the usernames not contain the student’s full names for their online privacy. We recommend each student gets a randomized password instead of using the same password for each student so that the students don’t log into each other’s accounts with their password.
- Once the csv file has been completed according to the directions in the Upload Full Class page, the csv file needs to be uploaded to Ji Tap, and then the teacher should click on the Send
- If there are any errors in the csv file, please correct them and re-upload the file to Ji Tap.
- Once the Class has been created of all the students, the teacher should print out the QR login cards for all the students.
*The csv file should be shared among all the Jewish studies and Ivrit teachers.
The process for all the Jewish Studies and Ivrit teachers at the school
Every teacher should then open up his/her Classes on their own Ji Tap accounts. Each class that the teacher teaches should be a separate Class on Ji Tap.
The teachers should:
- Login to the Ji Tap site.
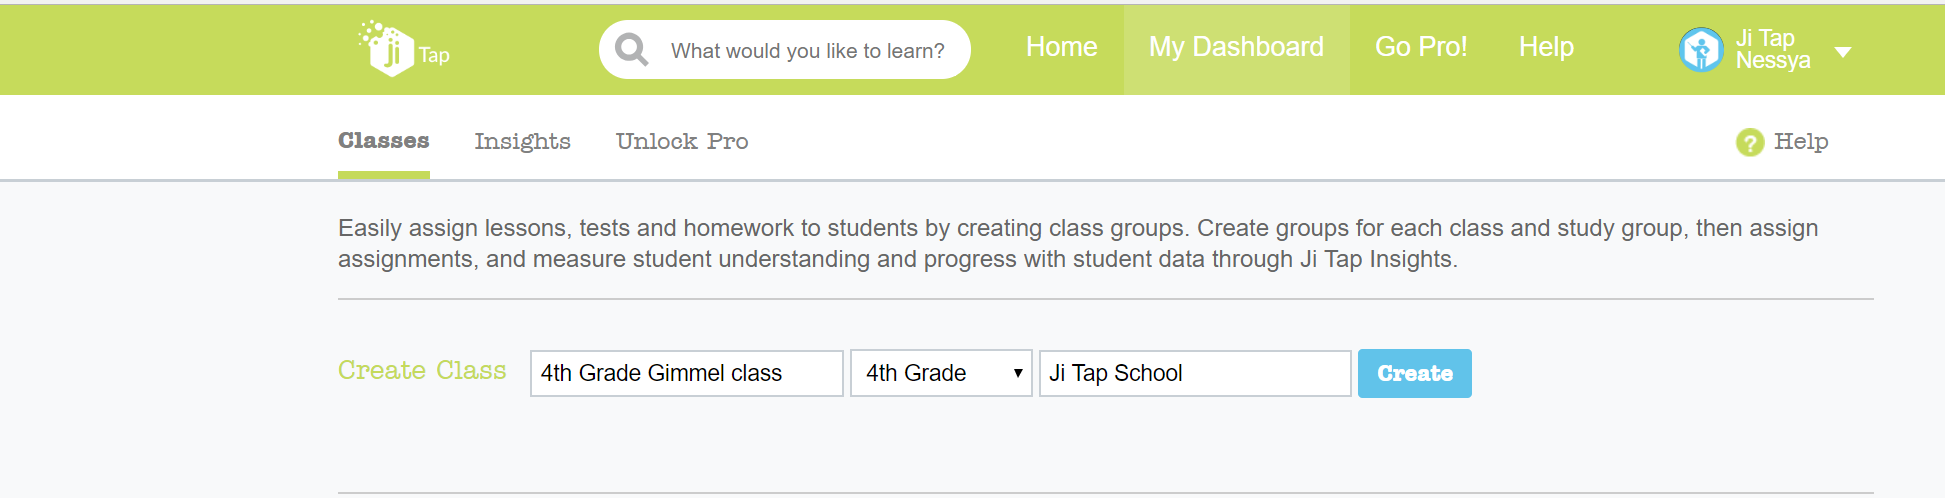
- Click on My Dashboard and fill out the information under Create Class, then click on See below for an example:

- Follow step #2 for each class that they teach.
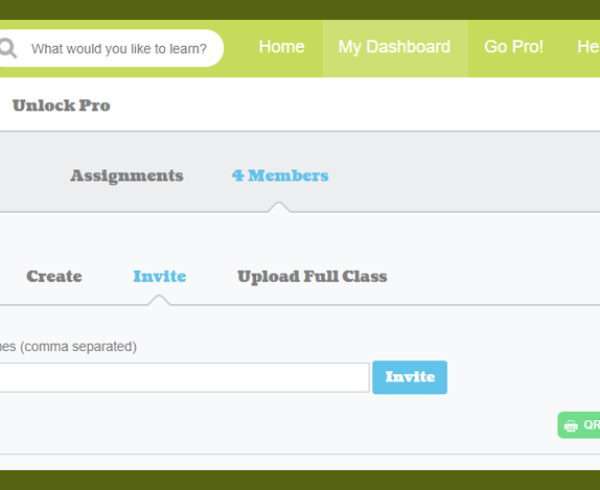
- Click on one of their Classes, and click on Members, and +New Members, and then the Invite tab to invite their students:
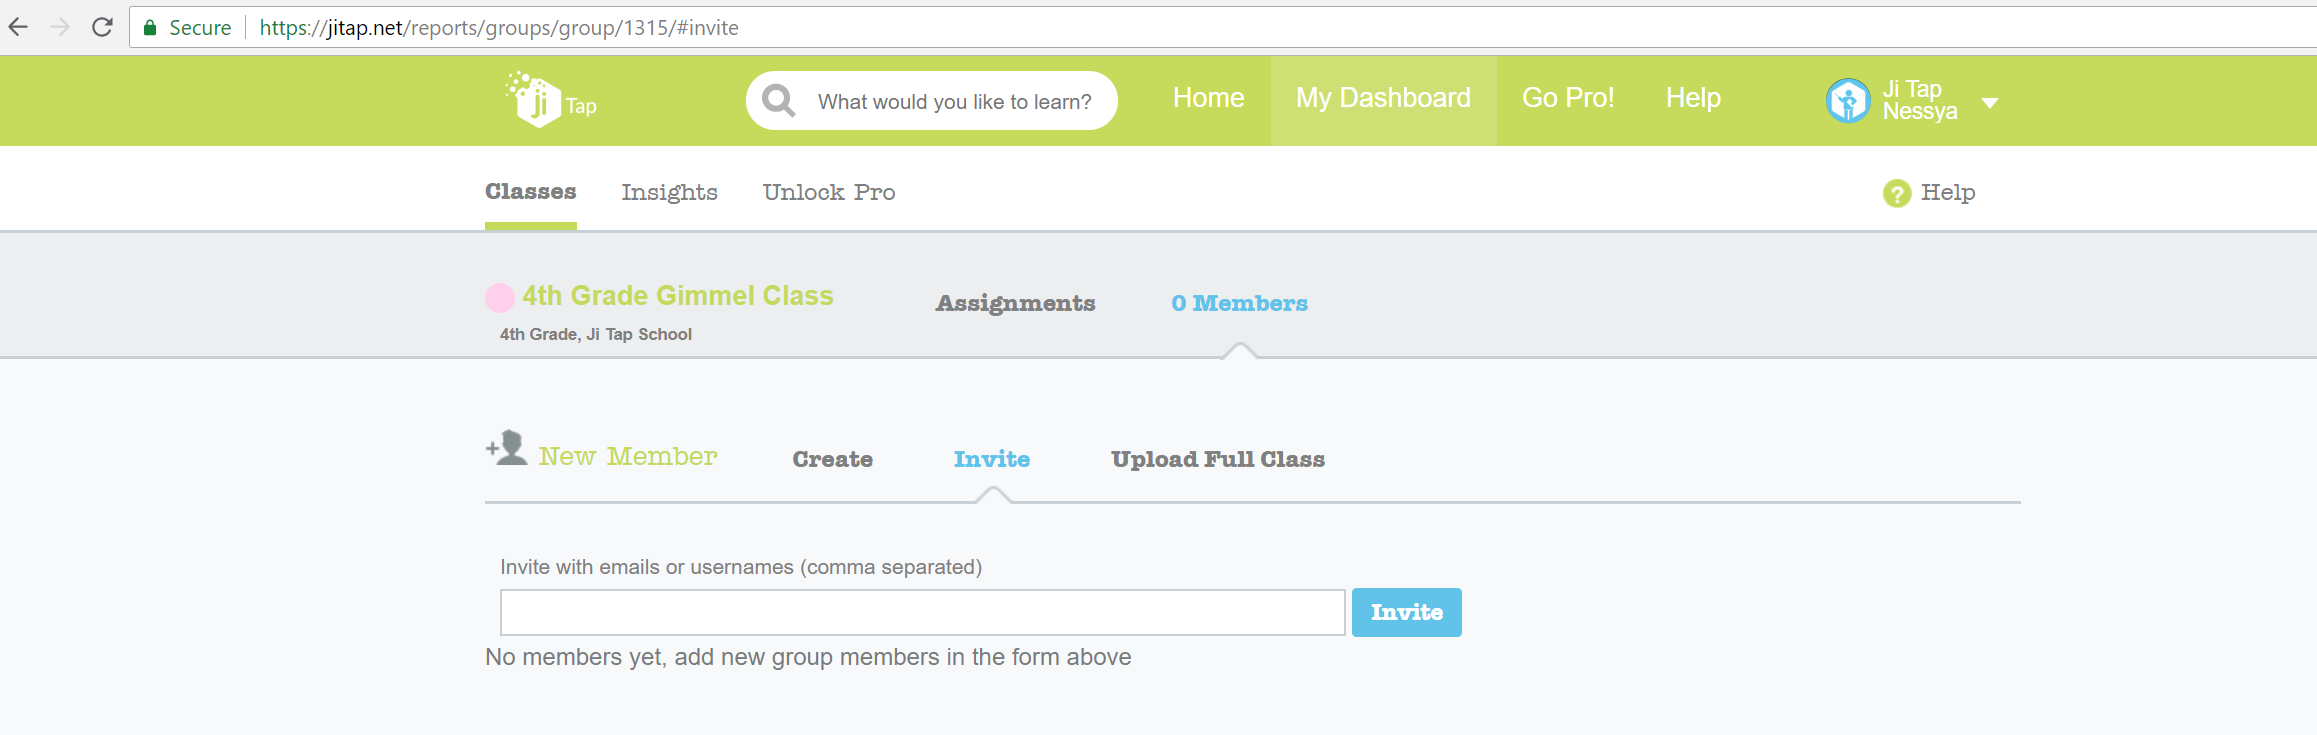
Then, all the other teachers can invite the students that are in their classes by the students’ username (which can be found in the csv file created by the teacher that created all the sub-accounts for the students).*Don’t forget to separate the usernames with a comma, not a space. -
Once the teachers have their classes set up on their Dashboard, they need to unlock their students’ data. Then, when they assign games to their students, they can view Insights reports on their students’ progress and work.They can unlock their students’ data by:*Clicking on My Dashboard once they are logged in to Ji Tap on the web.*Clicking on Unlock Pro.*Clicking on select all for their students, and clicking on update.
- The last step is for the students to accept their invitations. Students need to accept an invitation to a class in order to be added to that class via the Invite They only automatically get added to the class that they were added to via the Upload Full Class or Create option, which are the options that allow a teacher to create a sub-account for their student. For all the other Classes he/she is invited to, the student needs to accept the invitation via his/her Accounts page.
How can students Login to Ji Tap?
They can login using their username or password, or via their QR codes. Each time a student is added to a teacher’s class, a QR code is generated for that student. Teachers can access their students’ QR codes after the student has accepted their invitation to join their class.
The QR codes can be found by going to My Dashboard, clicking on a Class, going to Members, and then clicking on QR Login Cards:
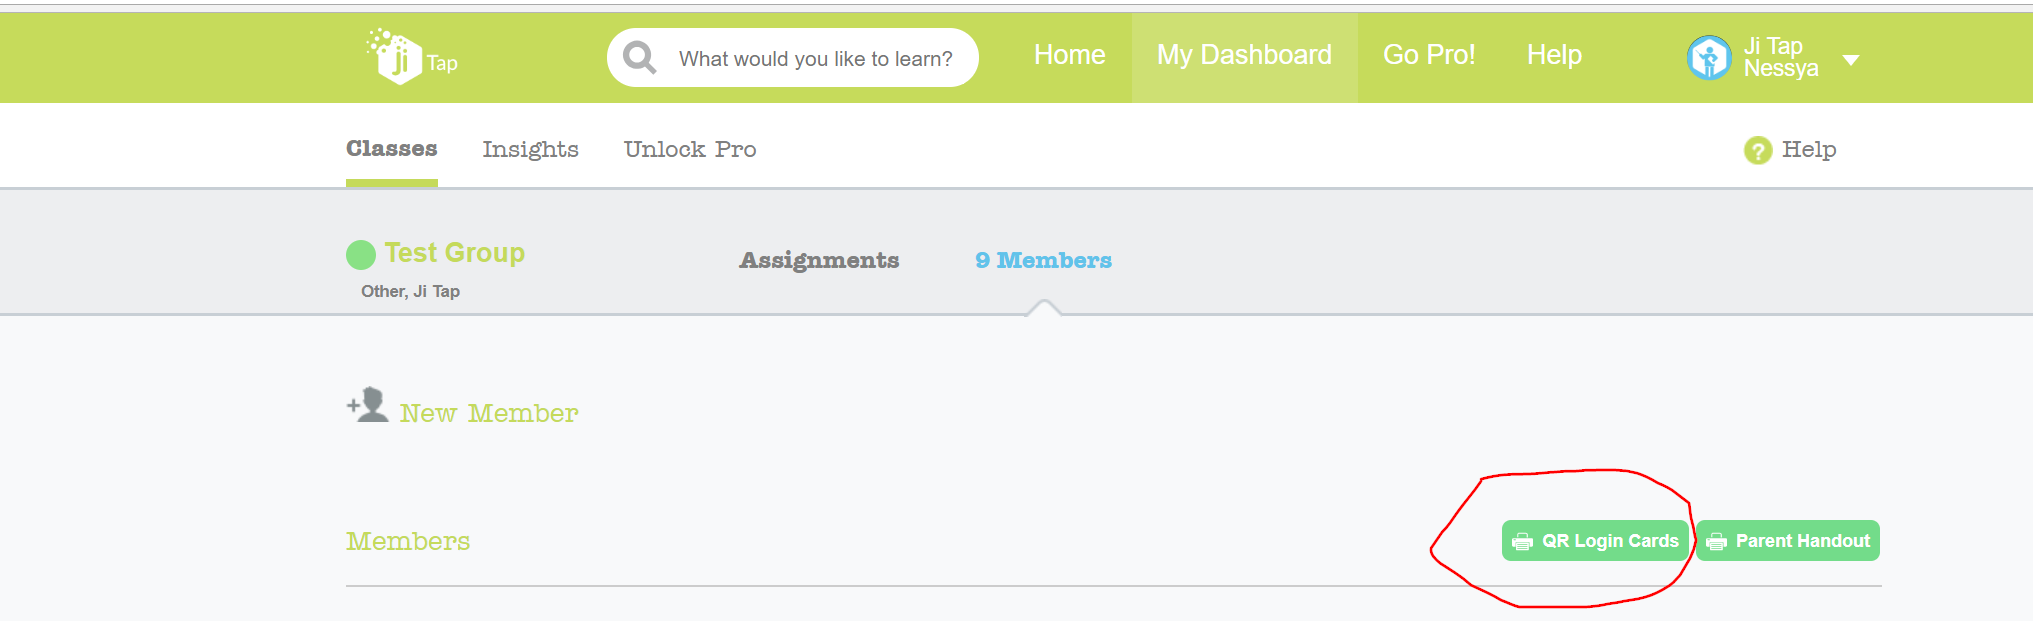
The QR Login Cards can be printed out and handed out to the students to make logging in easier.
How students can accept invitations to join the classes they were invited to:
- They should login to the Ji Tap site using their username and password, or their QR login card if they already have one.
- They should click on the dropdown menu by their name on the header of the site to access their Account page.
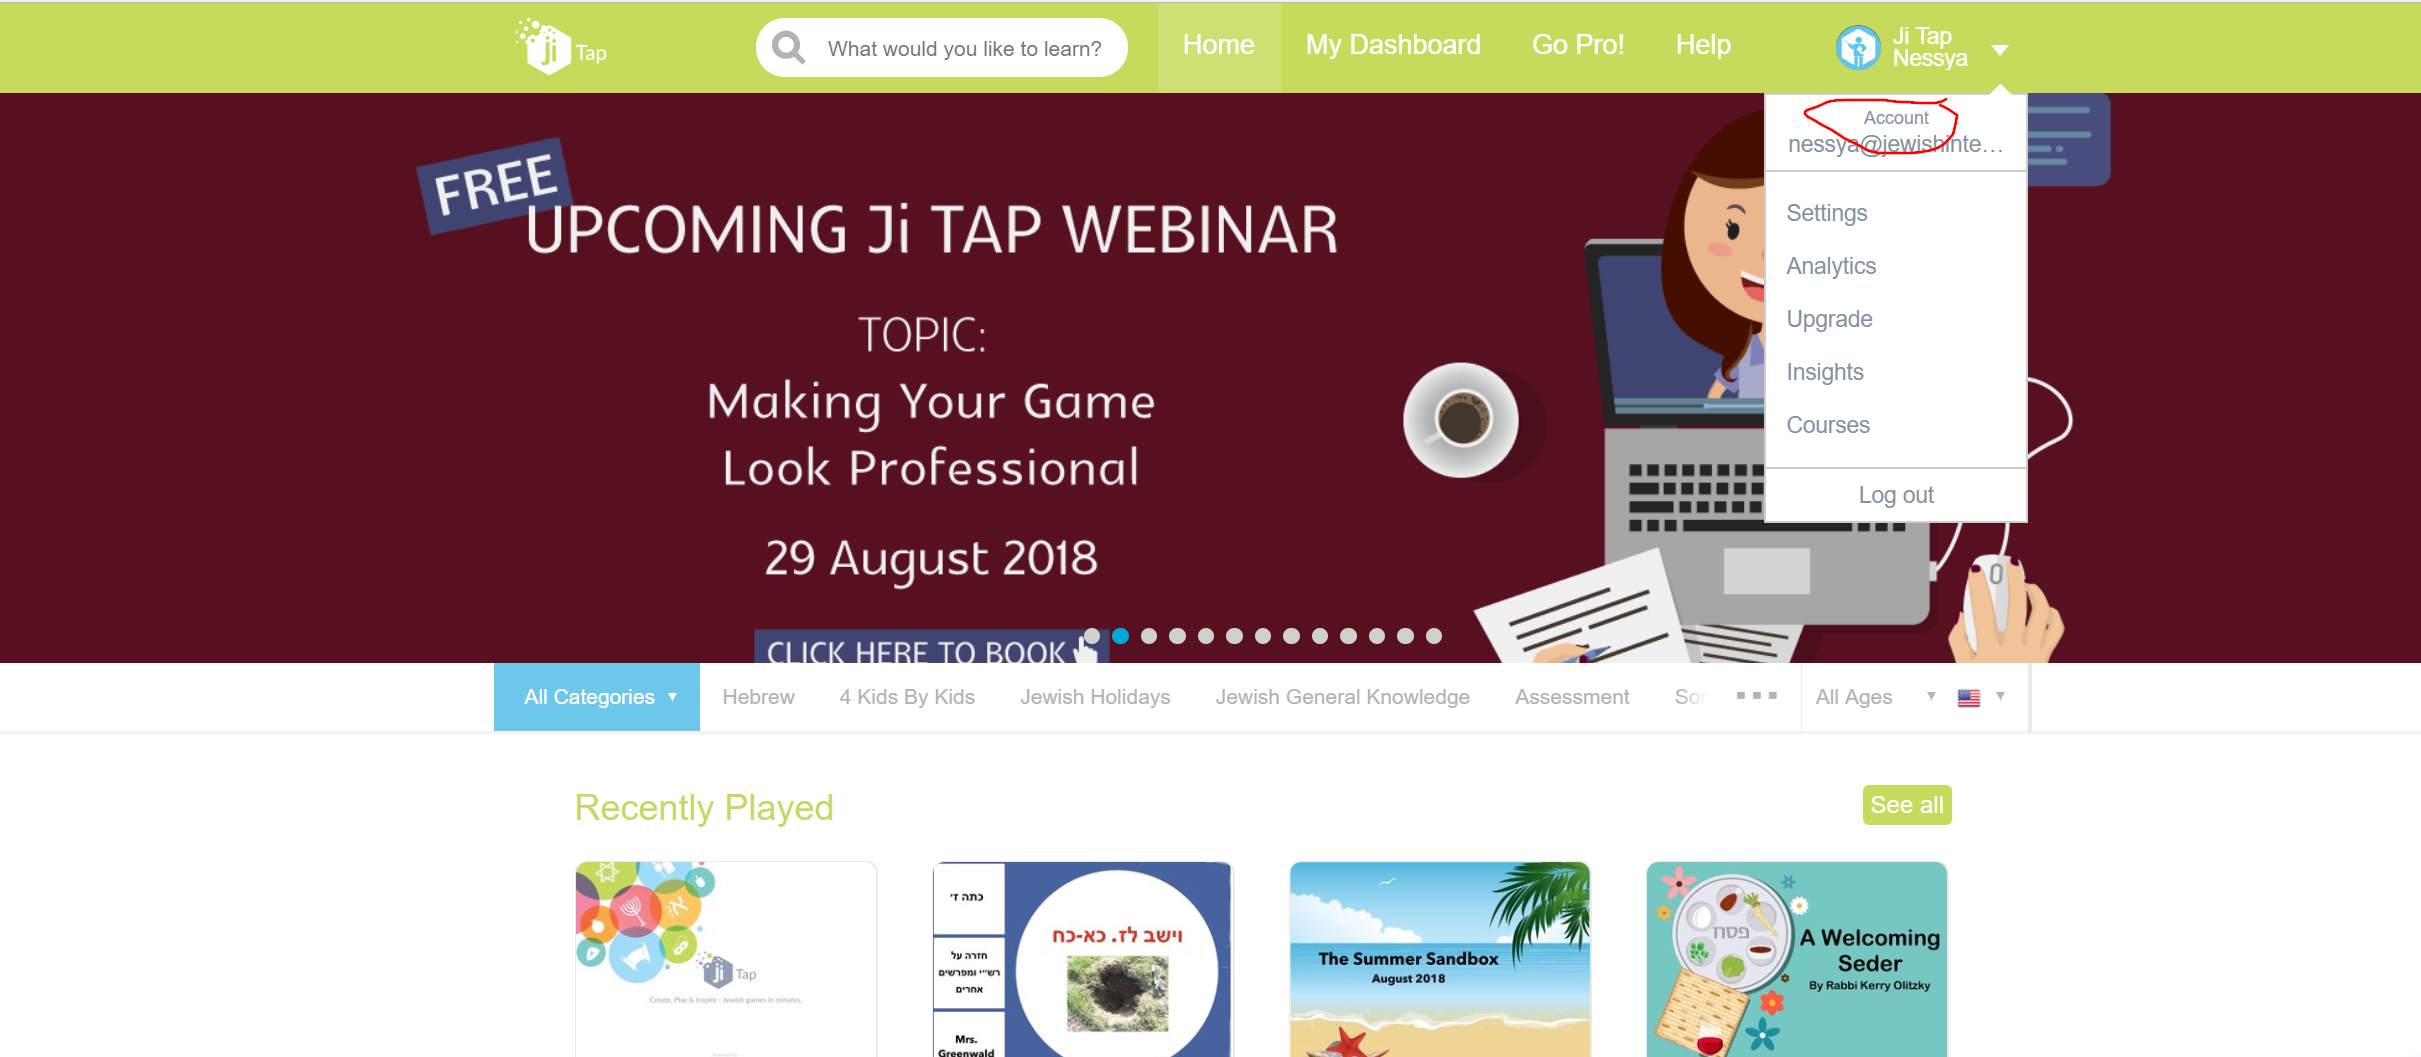
- Click on Account.
- They should scroll down until they see their teacher’s invitation to join their class. They need to click on the invitation be added to their teacher’s class.


Recent Comments